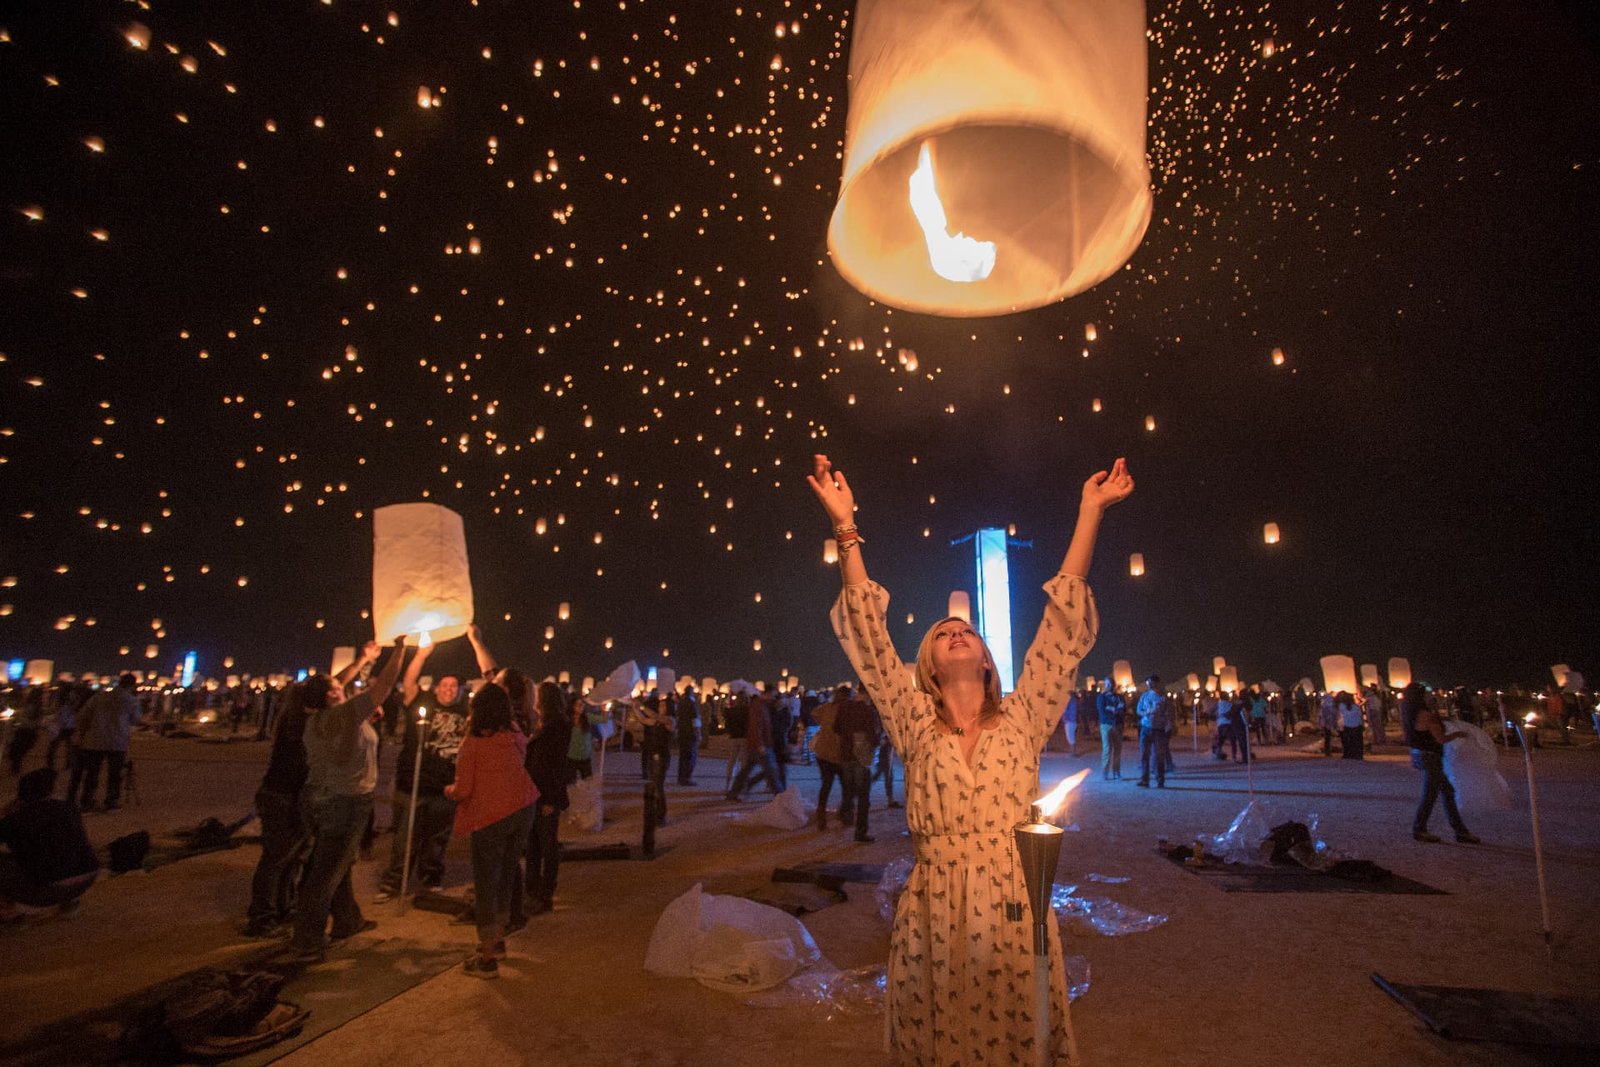
“Unlocking the Magic of Long Exposures and Tripods: A Professional’s Guide to Capturing the Lantern Festival’s Enchanting Glow 🏮📸”
Here are 10 tips for night photography:
- Use a Tripod: Night photography often requires longer exposures, making a tripod essential to keep your camera steady and avoid blur.
- Choose the Right Lens: A wide aperture lens (e.g., f/2.8 or lower) allows more light into your camera, making it easier to capture sharp and well-exposed images.
- Lower ISO Settings: Use the lowest ISO setting possible to reduce noise in your photos, typically ISO 100 or 200.
- Shoot in RAW: Capture your images in RAW format to have more flexibility during post-processing, especially in adjusting exposure and white balance.
- Long Exposures: Experiment with longer exposure times to capture light trails or starry skies. Start with 15-30 seconds and adjust as needed.
- Manual Focus: Autofocus can struggle in low light. Switch to manual focus and use live view or the camera’s focus peaking feature to ensure sharpness.
- Frame Your Shot: Pay attention to composition. Incorporate interesting foreground elements, leading lines, or silhouettes to create captivating images.
- Use a Remote Shutter Release: To avoid camera shake when pressing the shutter, use a remote shutter release or your camera’s built-in timer.
- White Balance: Adjust the white balance to match the lighting conditions, as artificial and natural lighting can have different color temperatures.
- Experiment with Post-Processing: Night photography often benefits from post-processing. Adjust exposure, contrast, and sharpness to enhance your images in software like Adobe Lightroom or Photoshop.
Remember that night photography requires patience and practice. Don’t be afraid to experiment and learn from your results to improve your skills over time.


